- New Products
- Exclusive Gear
- Bushcraft Gear
- Containers
- Cooking
- Fire
- First Aid
- Food Gathering
- Knives & Tools
- Knife Collectors Corner
- Light
- Logo Gear
- Misc. Items
- Navigation
- Packs, Pouches & Bags
- Personal Care
- Repair Gear
- Shelter & Protection
- Signaling
- Urban Survival
- Water
- Writing Gear
- John's Books
- Bargain Bin
DIY Vehicle Camp Kitchen
My stepson, Jonas, was coming over from Switzerland this year for vacation and said he wanted to go camping. It was late in the season and we could only spend five days away, so I asked if he would mind going to a state campground? He stated he just wanted to camp out and practice skills. I indicated that most campsites are booked early in the year but we would see what we could do. I told my wife, Denise, that we would never get a site during a weekend, but maybe we could get something during the week. She was able to locate a campsite in the Catskill State Park for Monday through Friday, so we booked it.
Being we were going truck camping, as I call it, because although we were using tents and a hammock, the truck would be at the site. We could bring all kinds of tools and other stuff to practice skills with. I remembered that about fifteen years ago I had built a "Camp Kitchen" in a Pelican case. These cases are waterproof and animals can't get into them. You can leave them sitting on a picnic table, which all State campsites provide.
I hadn't seen this kitchen in quite a few years and found it on a shelf in the garage. I opened it and it was just like the day I put it away. So I brought it into the house and started getting it ready for our campout.
As I indicated, I built this kitchen about fifteen years ago. When I was in the Boy Scouts (many decades ago) my father had built a wooded box that was our camp kitchen on campouts. It had various sections and drawers to hold everything we needed to cook. It always reminded me of an old chuck wagon in the cowboy movies.
I had been building various equipment cases for intelligence and communications equipment for a career I was previously involved in and I always used Pelican cases. They were strong, waterproof, and travelled well without breaking. I figured if they were good enough for the Special Forces, they would serve my purpose well.
Wanting to build some type of a kitchen that could be carried in a vehicle and used for camping, I obviously started with a Pelican case. I selected a Pelican #1550 which measures 20" x 16" x 8" high. I wanted to place various dividers inside to hold the different types of cooking utensils and bottles that I planned to put inside it. When building previous cases, I used aluminum for the dividers as the cases were often shipped all over the world. However, they made the cases heavy, so for this kitchen I selected Luan Plywood, as it is thin, strong and has a nice finish. It is also lighter than aluminum.
I first selected the various things that I wanted to go in the case and then designed the various sections. I used small aluminum angle for attachment points for the Luan. On the outside of the case I attached the aluminum angle by using beveled countersunk screws so they would be flush with the case on the outside. Before inserting the screws I applied a good application of silicone sealant into the holes to maintain the waterproof nature of the case.
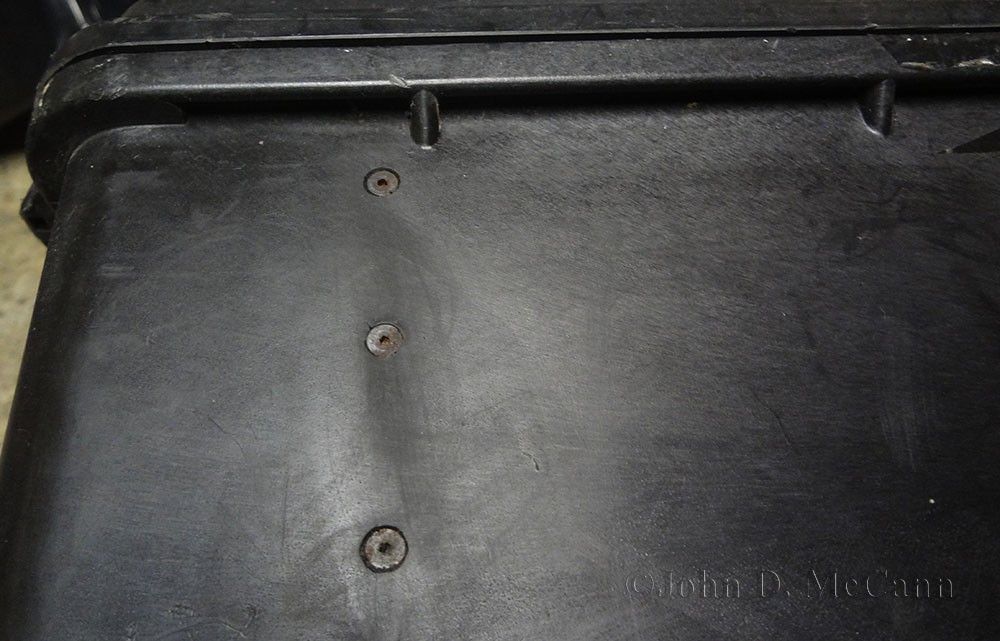 This shows the countersunk screws from the outside of the case.
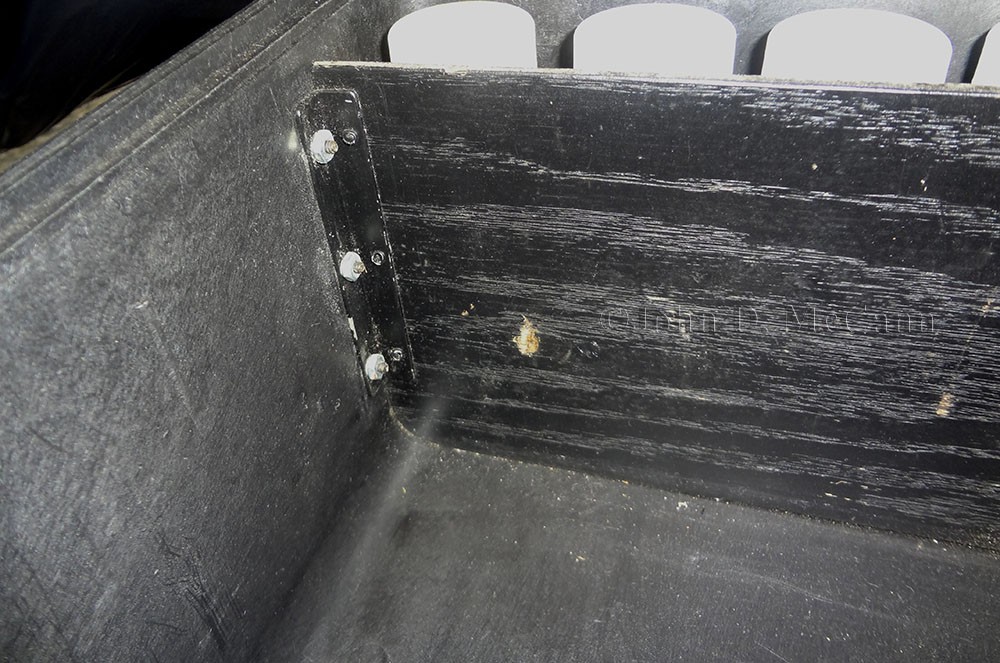 This shows the attachment of an internal divider to the outside of the case.
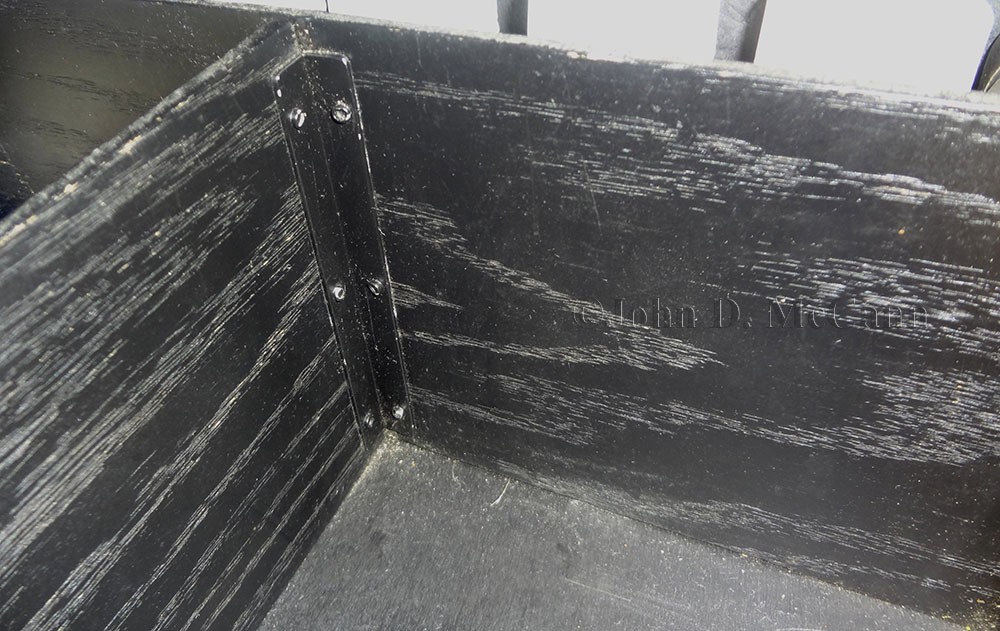 This shows the connection of in inside divider.
After constructing the inside dividers, I decided to cut a piece of Luan that would set on top of the dividers so that the foam in the lid would hold it down tight. This would ensure that the contents would not shift around when the case was transported.
However, after cutting and top piece and rounding the corners to fit nice and snug, I felt the board could be used for more than just an inside lid. Always wanting something to have multiple uses, I decided to make the inside lid a small table that could be used for prepping food, as picnic table are often very dirty. Using some small aluminum angle and a few pieces of aluminum flats, I was able to construct a small table with folding legs. Inside the case it would be just a lid for the bottom, but once taken out, the legs could fold down and could be used as a food prep table.
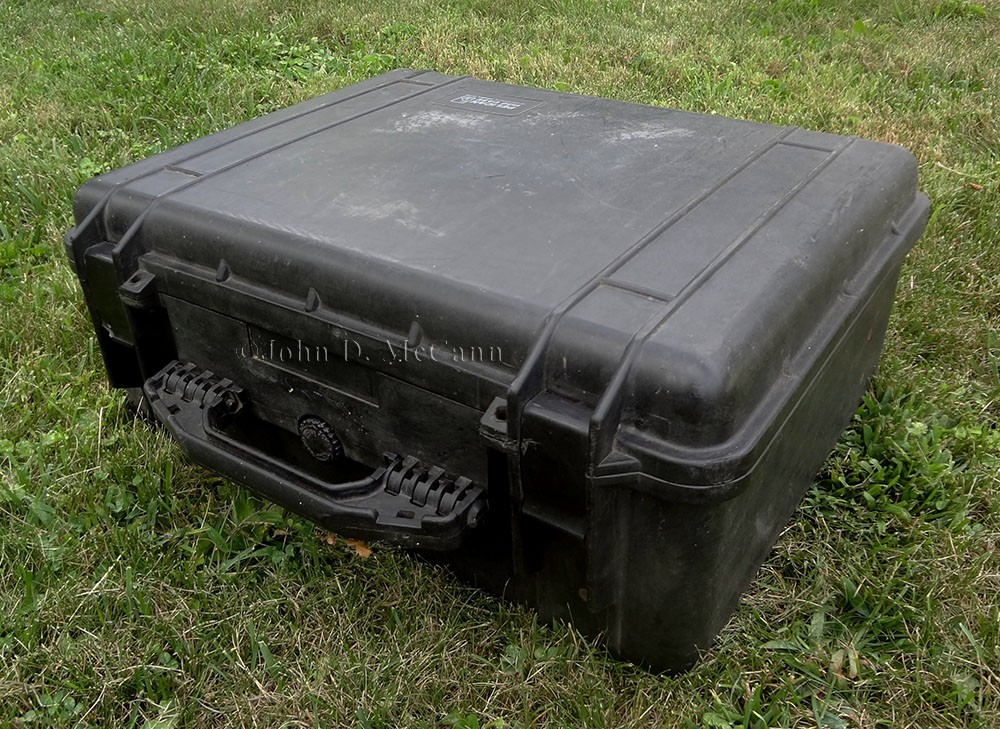 This is a view of the Pelican case closed.
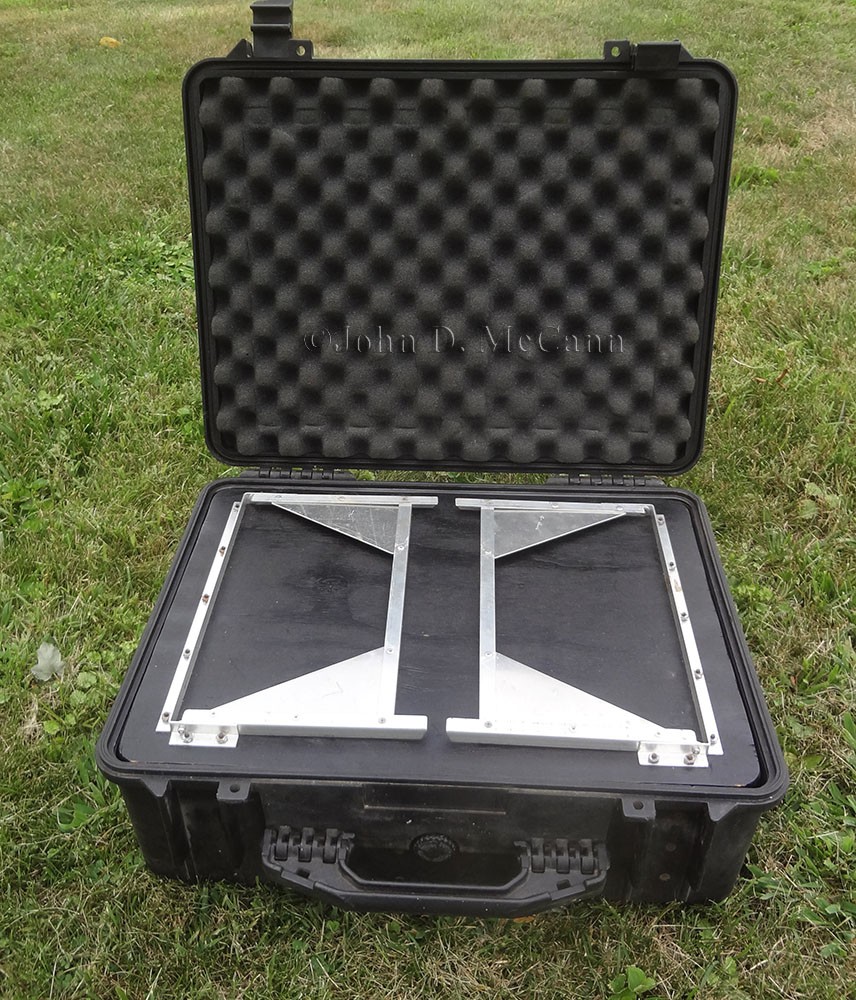 This is a view with the top open showing the small folding prep table.
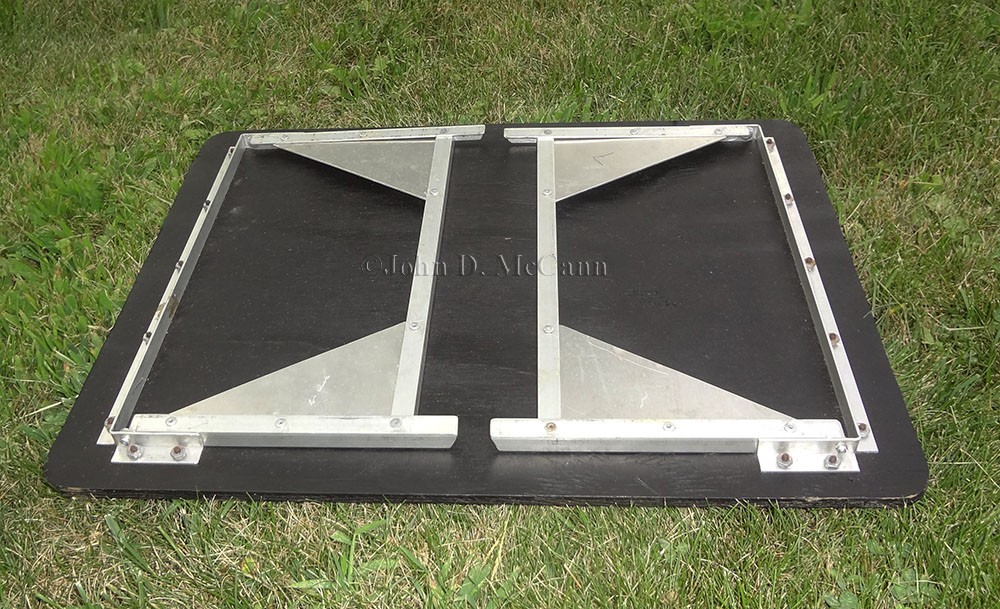 This shows the lid/prep table removed from the case.
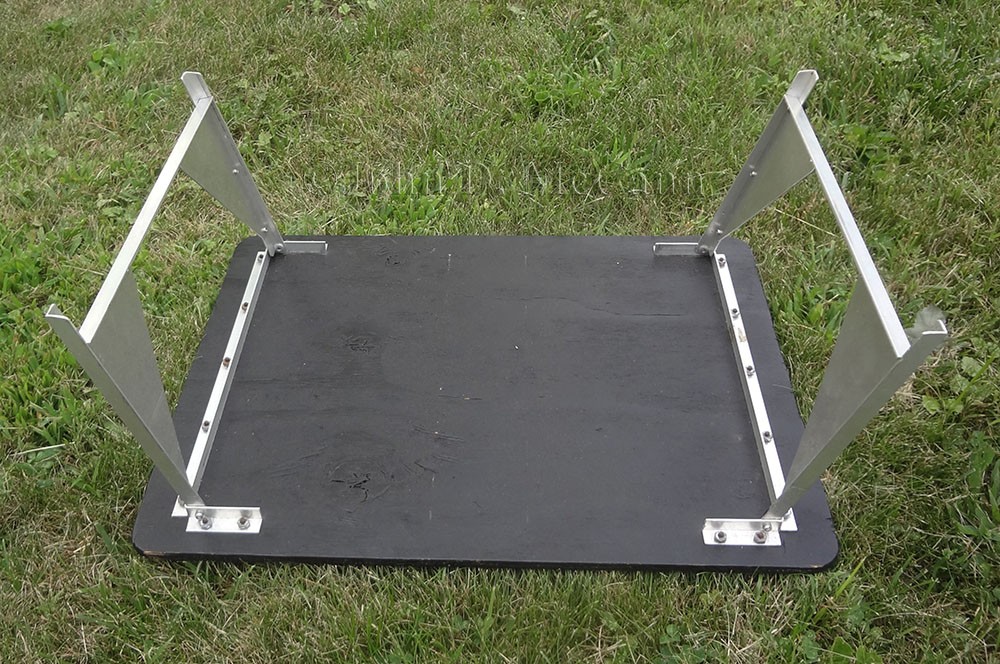 This shows the legs of the table in the up position.
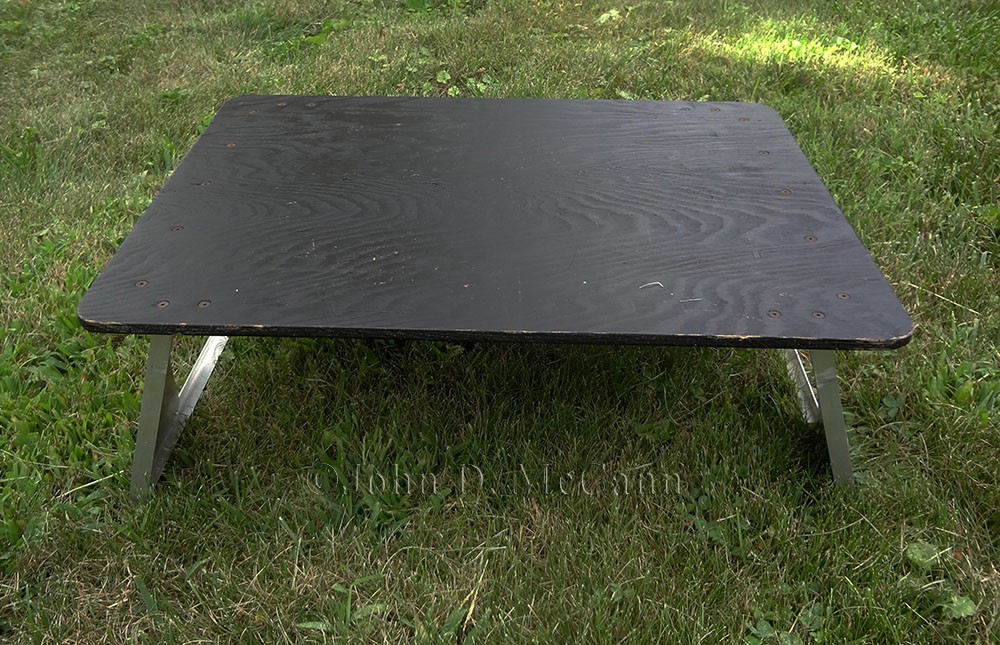 This shows the small table in the standing position.
As part of the contents, I planned on having various Nalgene bottles that could hold various things like syrup, cooking oil, spices, creamer, sugar, Tang, and other selected items.
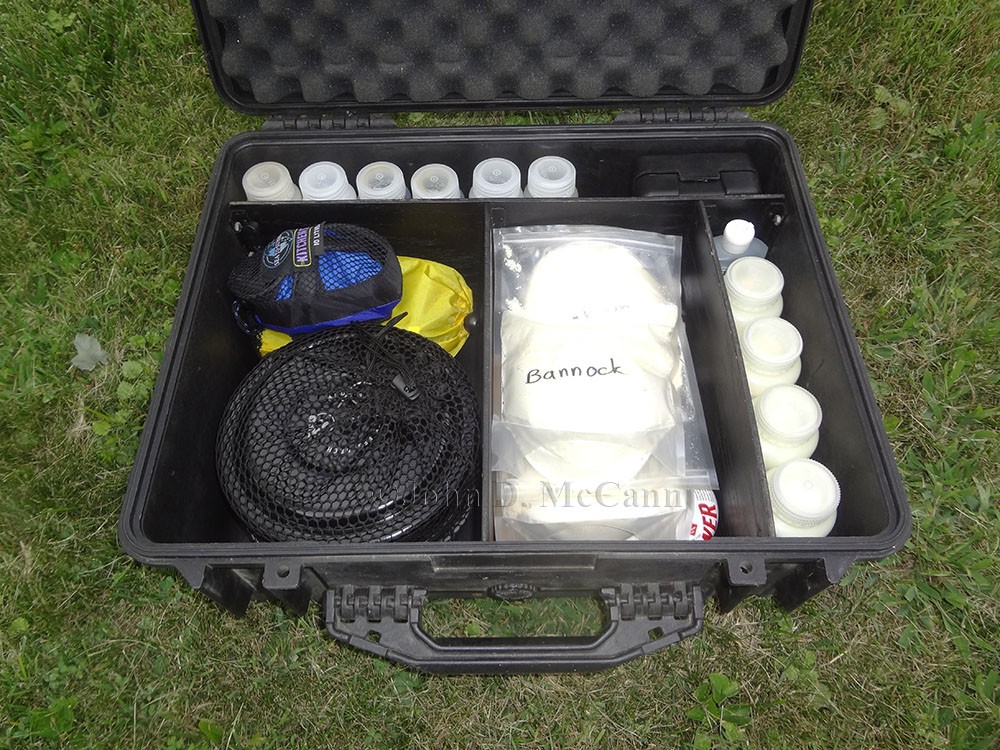 This shows the inside dividers with various components inside.
There is a piece of foam in the cover and it can be easily removed. It does not provide a lot of room, but it was adequate for me to place a cutting board, some folded up heavy duty aluminum foil, and various sized zip-closure bags.
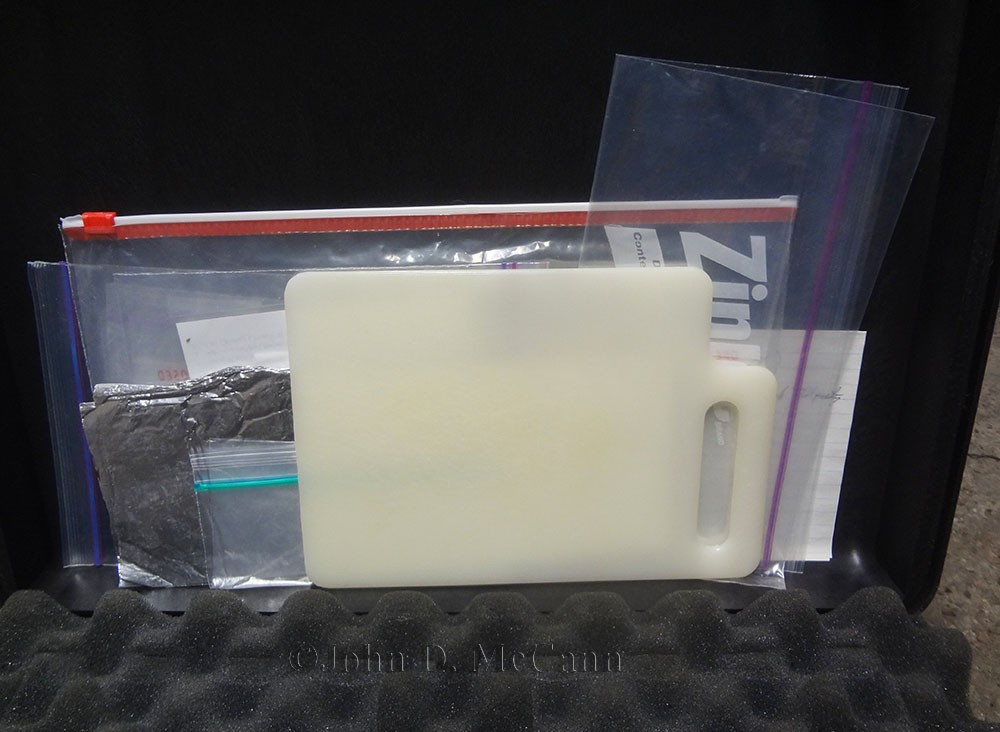 This shows the items that are kept in the lid under the foam.
I also wanted various cooking utensils but didn't want them rattling around. So I selected the utensils and then sewed a "Roll-Up" that would hold each utensil individually, and then roll up when not in use. The "Roll-Up" would then be placed into a small stuff sack to store it in the kitchen. I also placed two grommets on the top of the "Roll-Up" and placed small loops of parachute cord through them. This allowed the "Roll-Up" to hang from the latches on the Pelican Case when it was open.
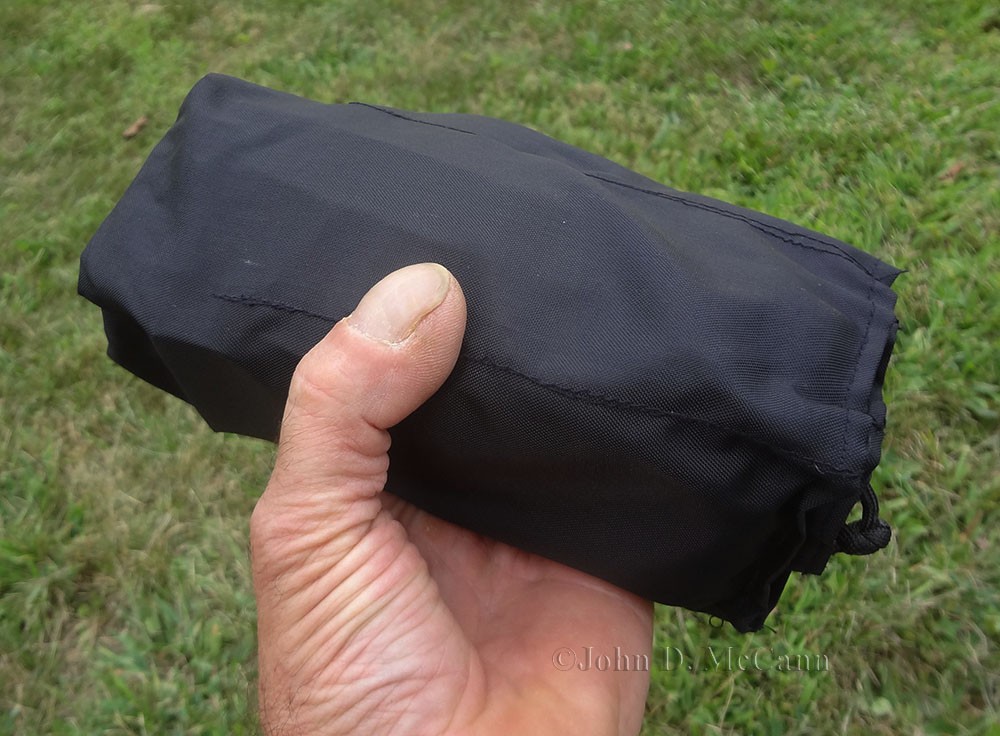 This is a view of the "Roll-Up" that hold various cooking utensils.
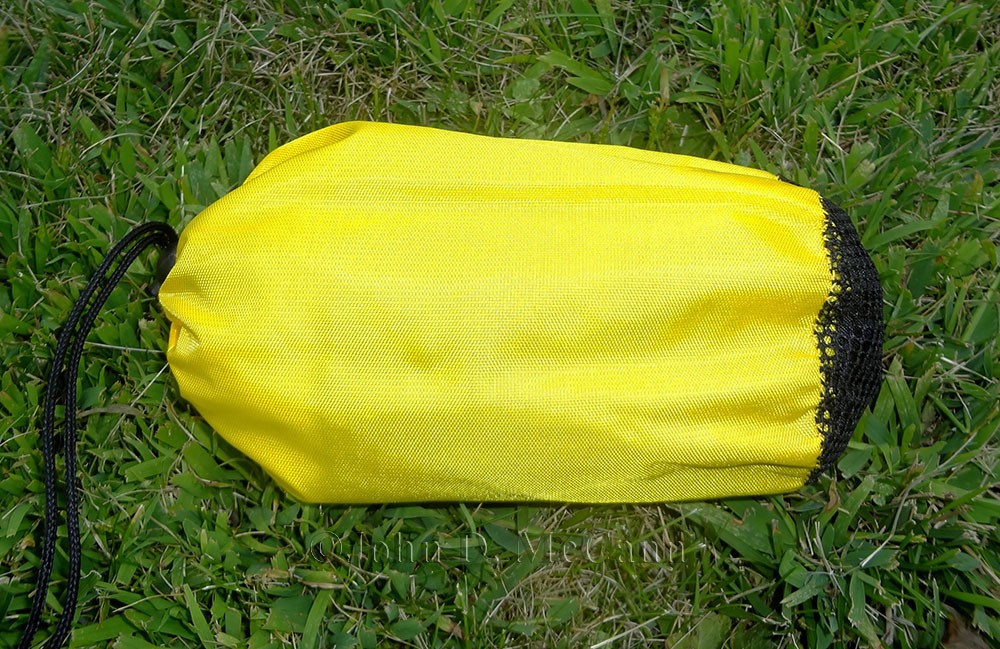 This is the stuff sack that holds the "Roll-Up" when not in use.
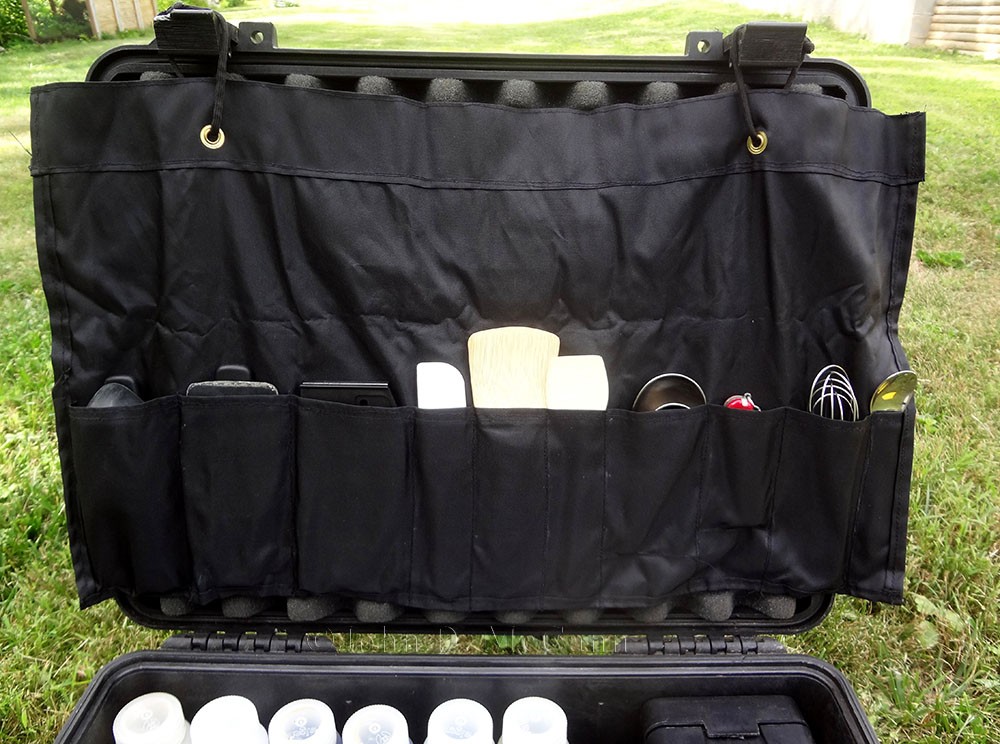 This shows the utensil "Roll-Up" hanging from the latches of the open Pelican case.
I couldn't find a pot set that had everything I wanted so I picked from various options and came up with what I felt was adequate. I selected two MSR pots and a frying pan, an MSR tea kettle, and two stainless steel plates. I also found a stainless steel pot that would fit inside the other pots and selected that to be a colander. I drilled an assortment of holes in the bottom and it works great as a means to drain my pasta which I often have in the field. I added a pot grabber for the frying pan and it nestle nicely inside the tea kettle. Aside from the Dutch oven that always goes camping with us, this selection provided me with more than enough options.
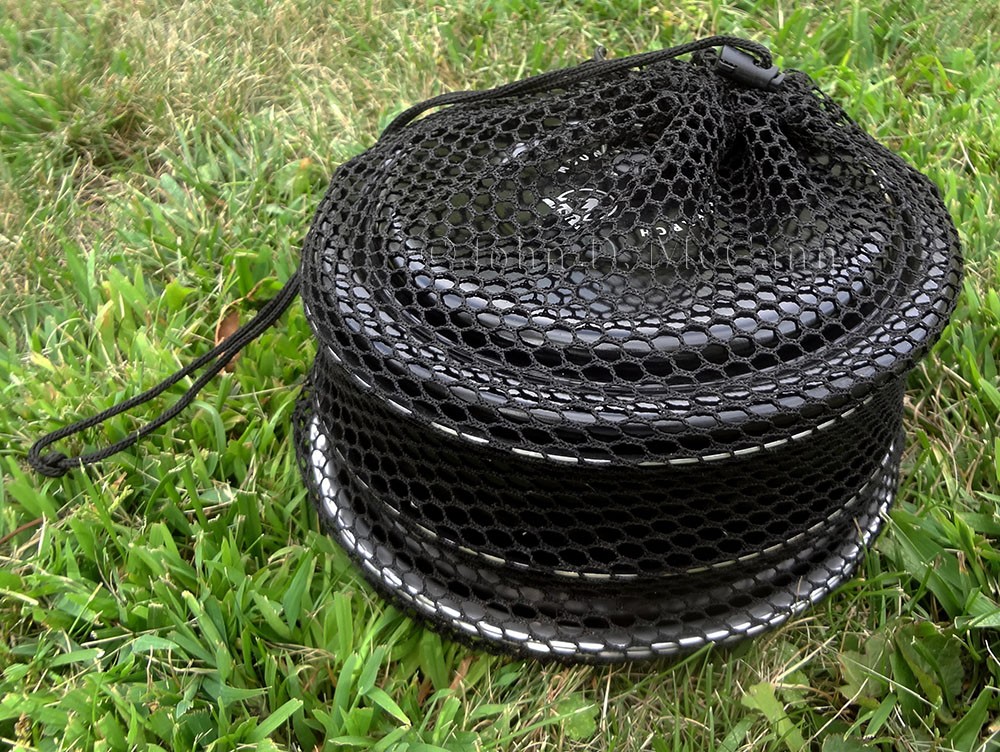 This is the complete pot set and plates inside a mesh bag.
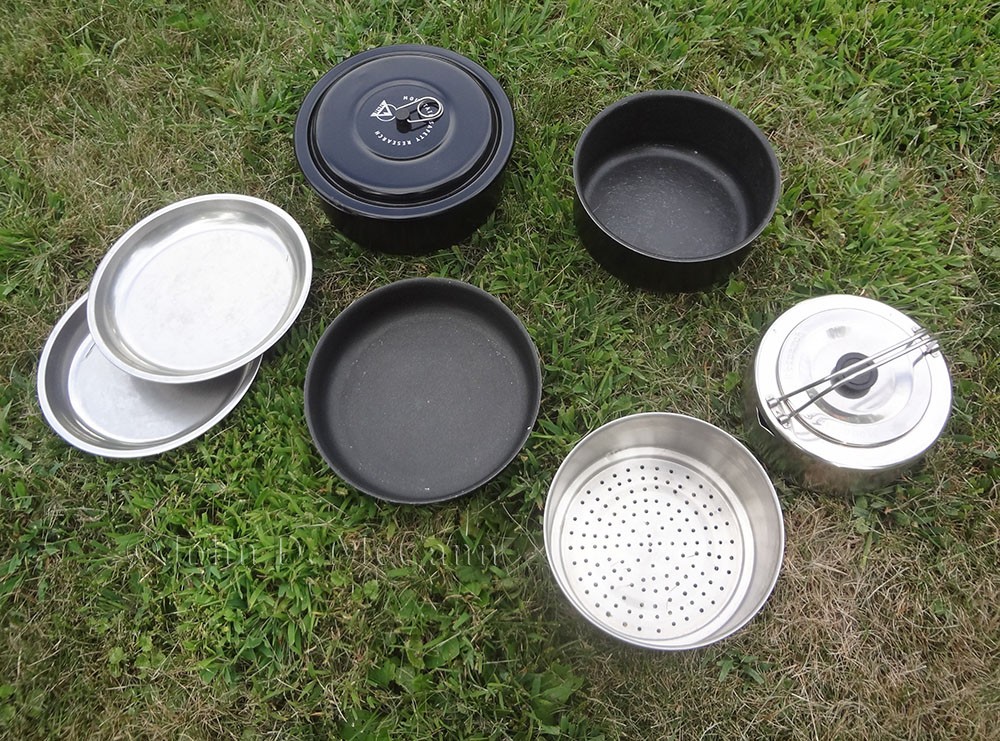 This shows the various components of the pot set.
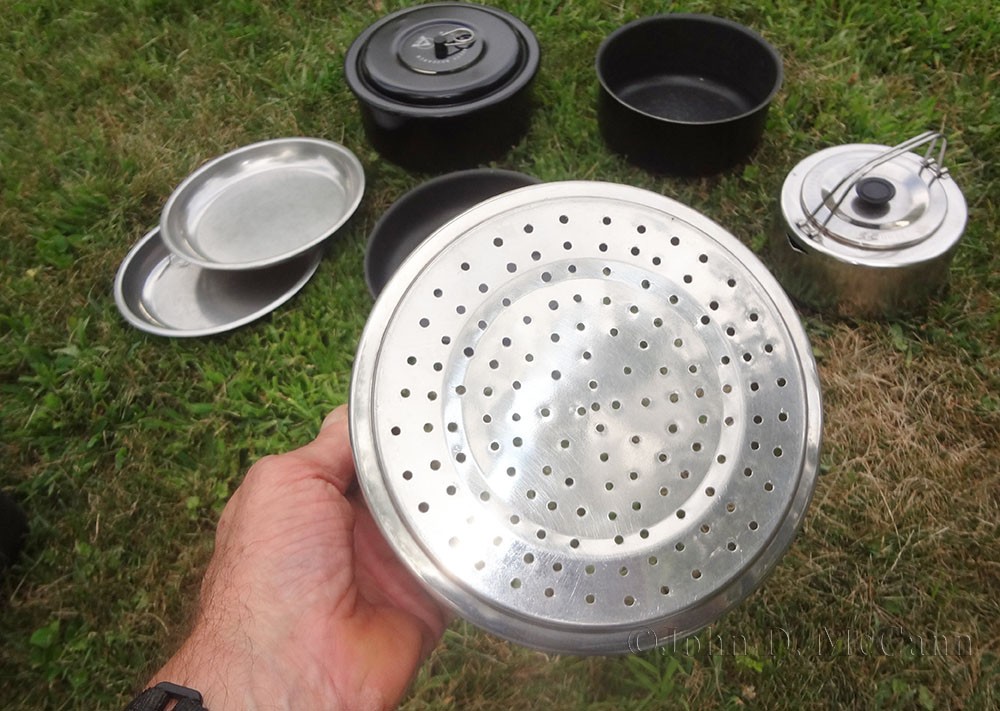 A close-up of the colander made from a stainless steel pot.
Well that more or less shows the Vehicle Camp Kitchen that I made many years ago and still use today. This could also be used for other purposes such as boating, or even a bug-out vehicle.
Anyway, I hope you enjoyed seeing another option for a kitchen in the field. We hope you enjoyed this article and will help support our efforts by checking out our products. As always, Be Prepared To Survive!
Copyright © 2015 by John D. McCann


