
- New Products
- Exclusive Gear
- Bushcraft Gear
- Containers
- Cooking
- Fire
- First Aid
- Food Gathering
- Knives & Tools
- Knife Collectors Corner
- Light
- Logo Gear
- Misc. Items
- Navigation
- Packs, Pouches & Bags
- Personal Care
- Repair Gear
- Shelter & Protection
- Signaling
- Urban Survival
- Water
- Writing Gear
- John's Books
- Bargain Bin

How To Fold A Map
During our short Map & Compass classes, we don't always have time to show our students how to fold a map. So, this is a short tutorial on How To Fold A Map.
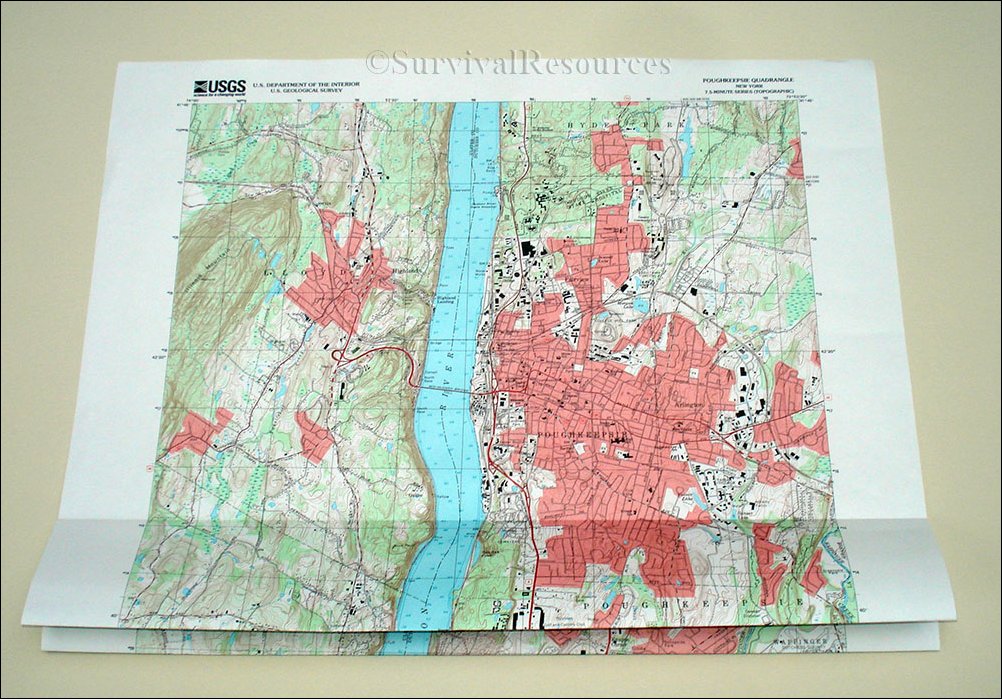
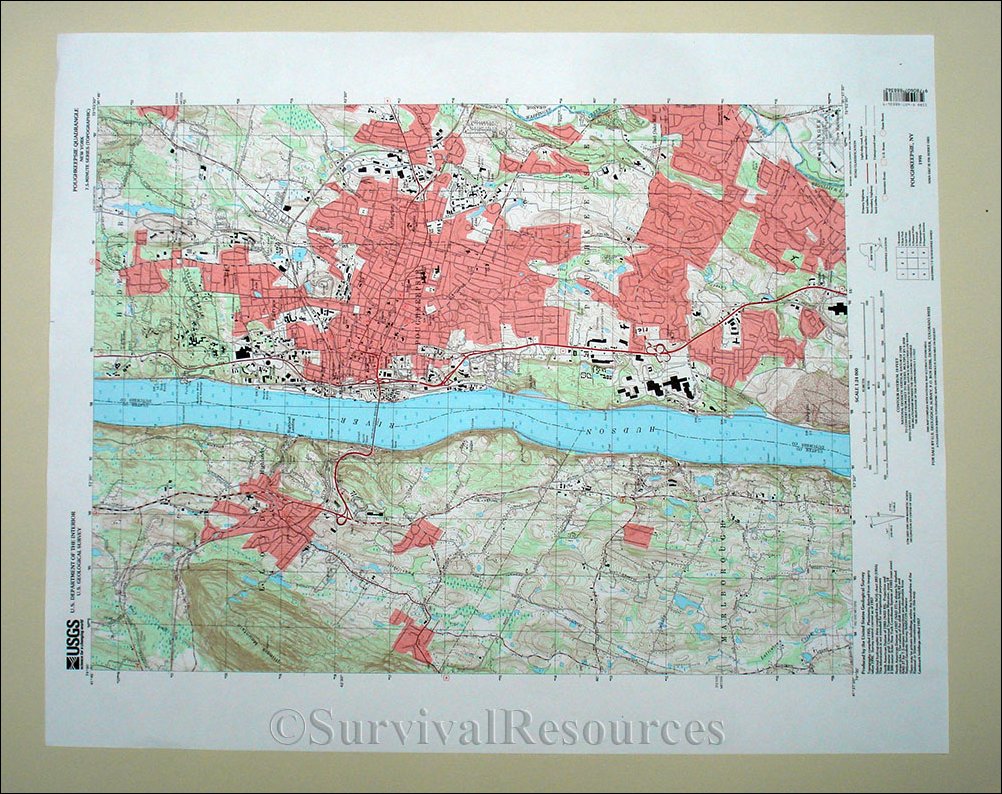 The first thing you do is lay your map down on a flat surface.
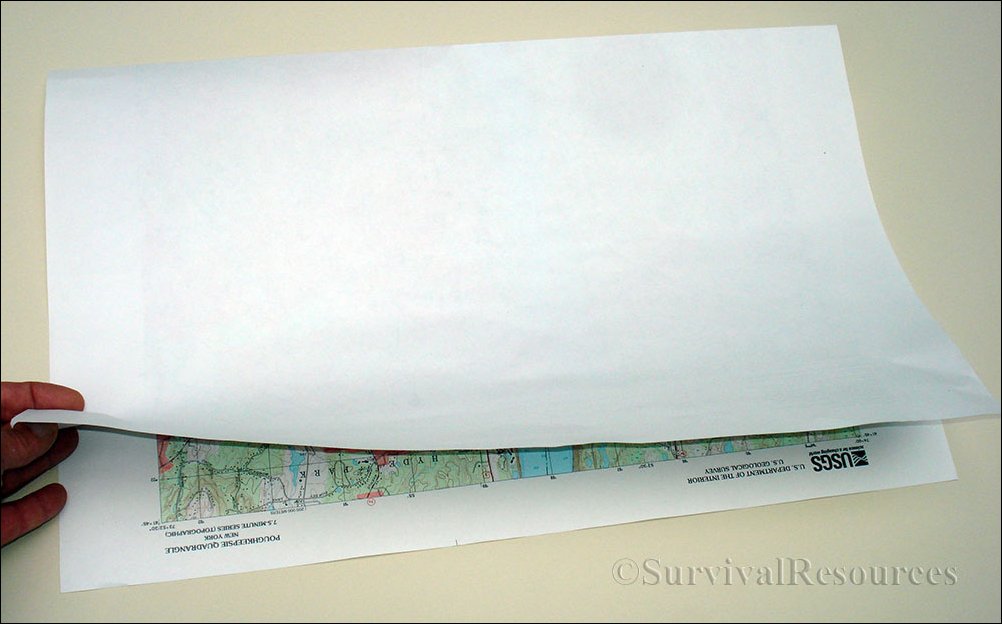 Now fold the map from top to bottom, creasing it well in the center.
 When you unfold the map so that it is again flat, you should clearly see the center crease.
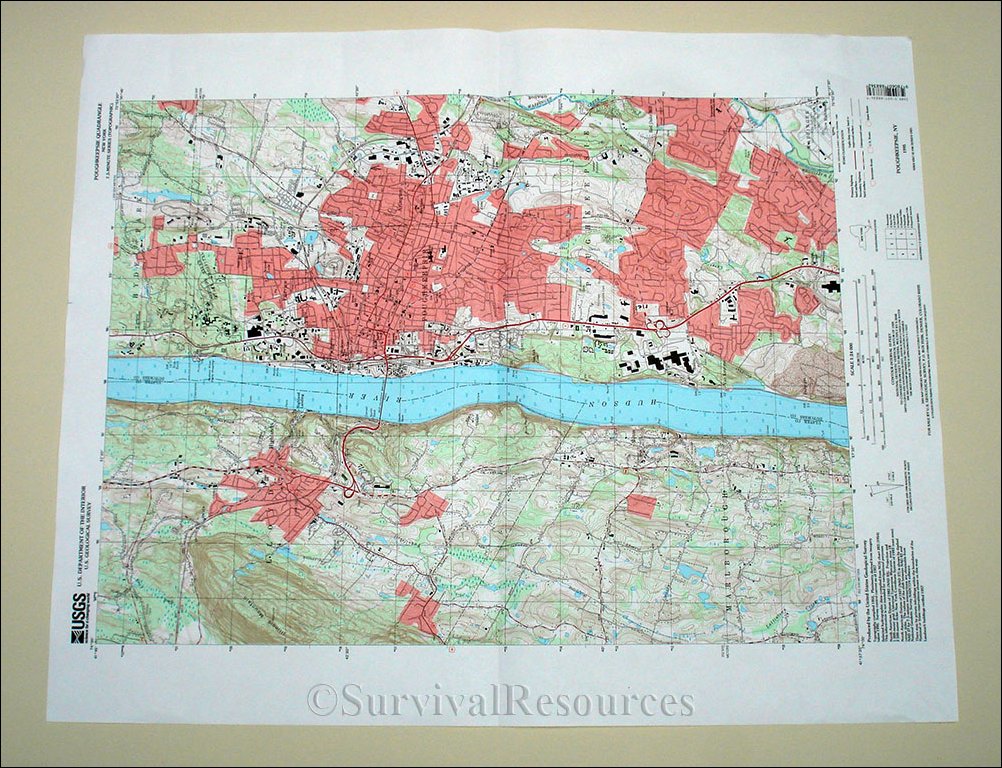
 Now fold the bottom half up to the center crease.
 Now fold one half of the side, which you just folded to the center crease, back on itself.
 Next, you fold the last three layered fold under to the center crease. This sounds more confusing
than it is. You should now have four thicknesses of map, with three under the map.
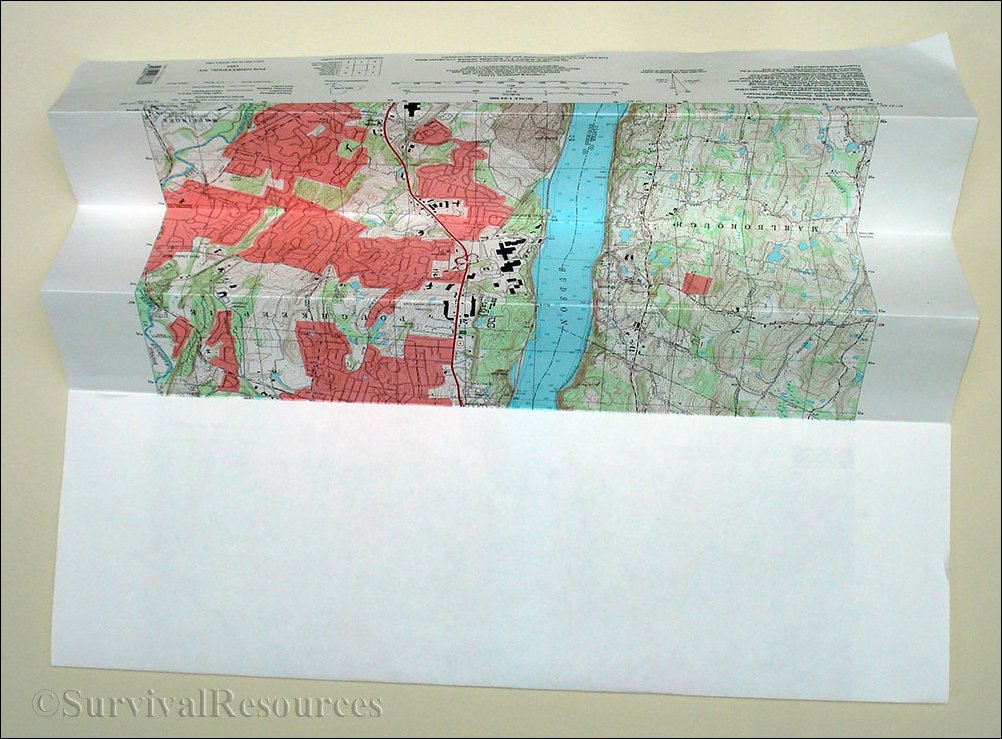 Now do the same with the top half of the map, starting by folding the top down to the center crease.
Then follow the same procedure as used above.
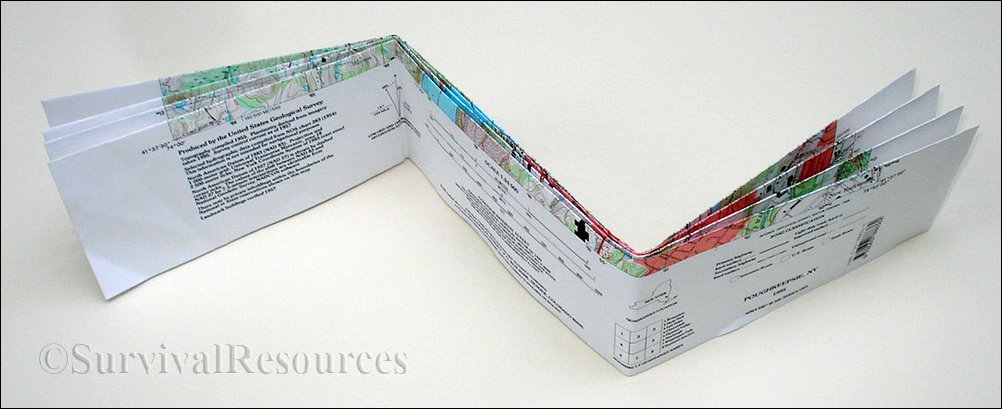
 When you are finished, the map should look like an accordion with all printed portions facing up.
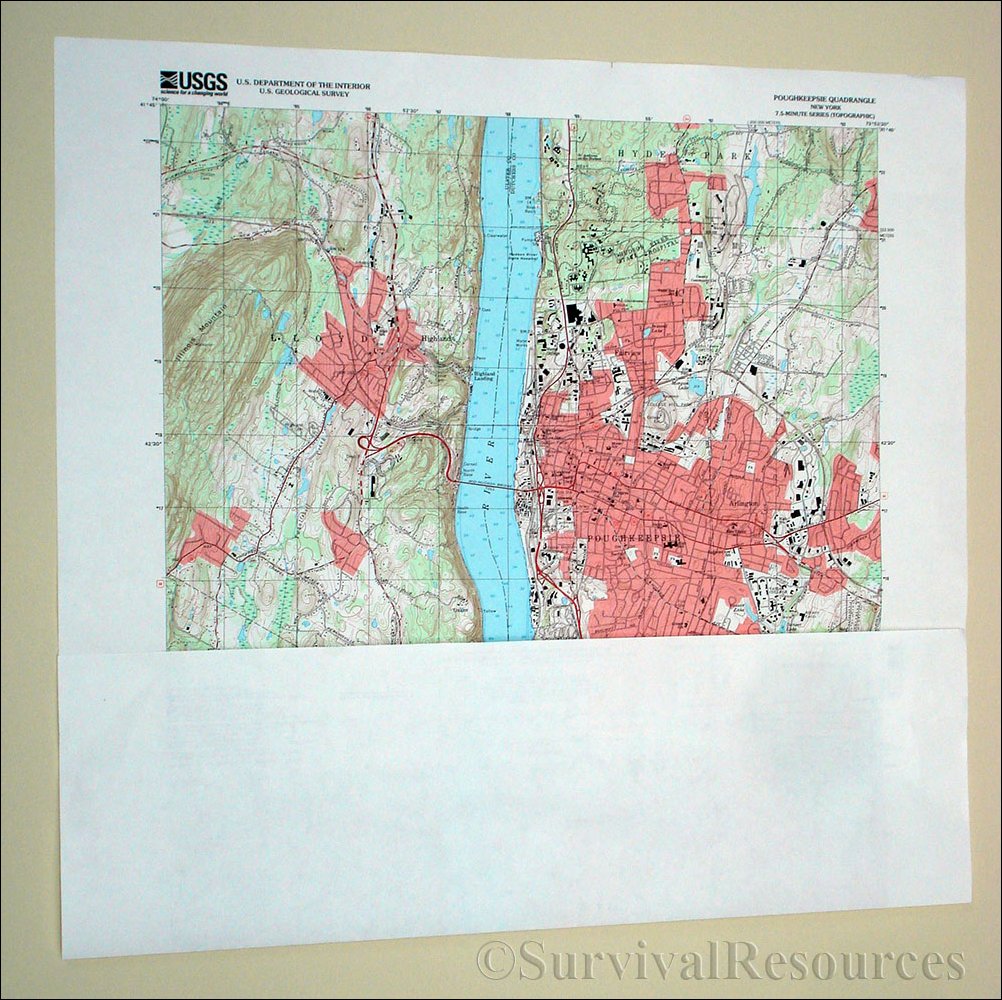
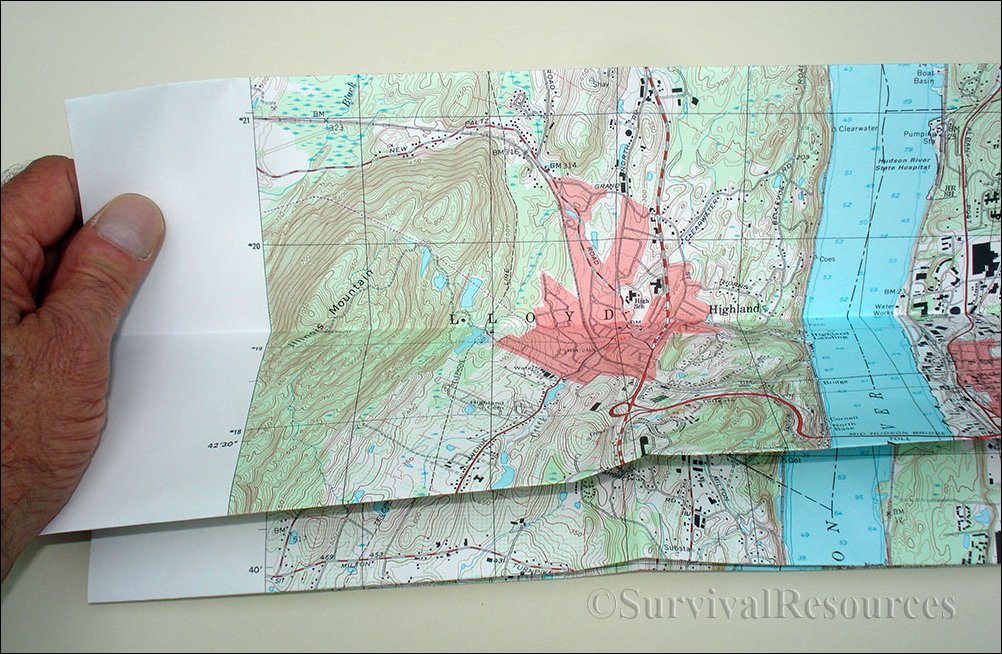
 Now lay the map down with the bottom facing up (this is the portion that has the name of the map
on the right bottom and the scale and contour interval information in the center).
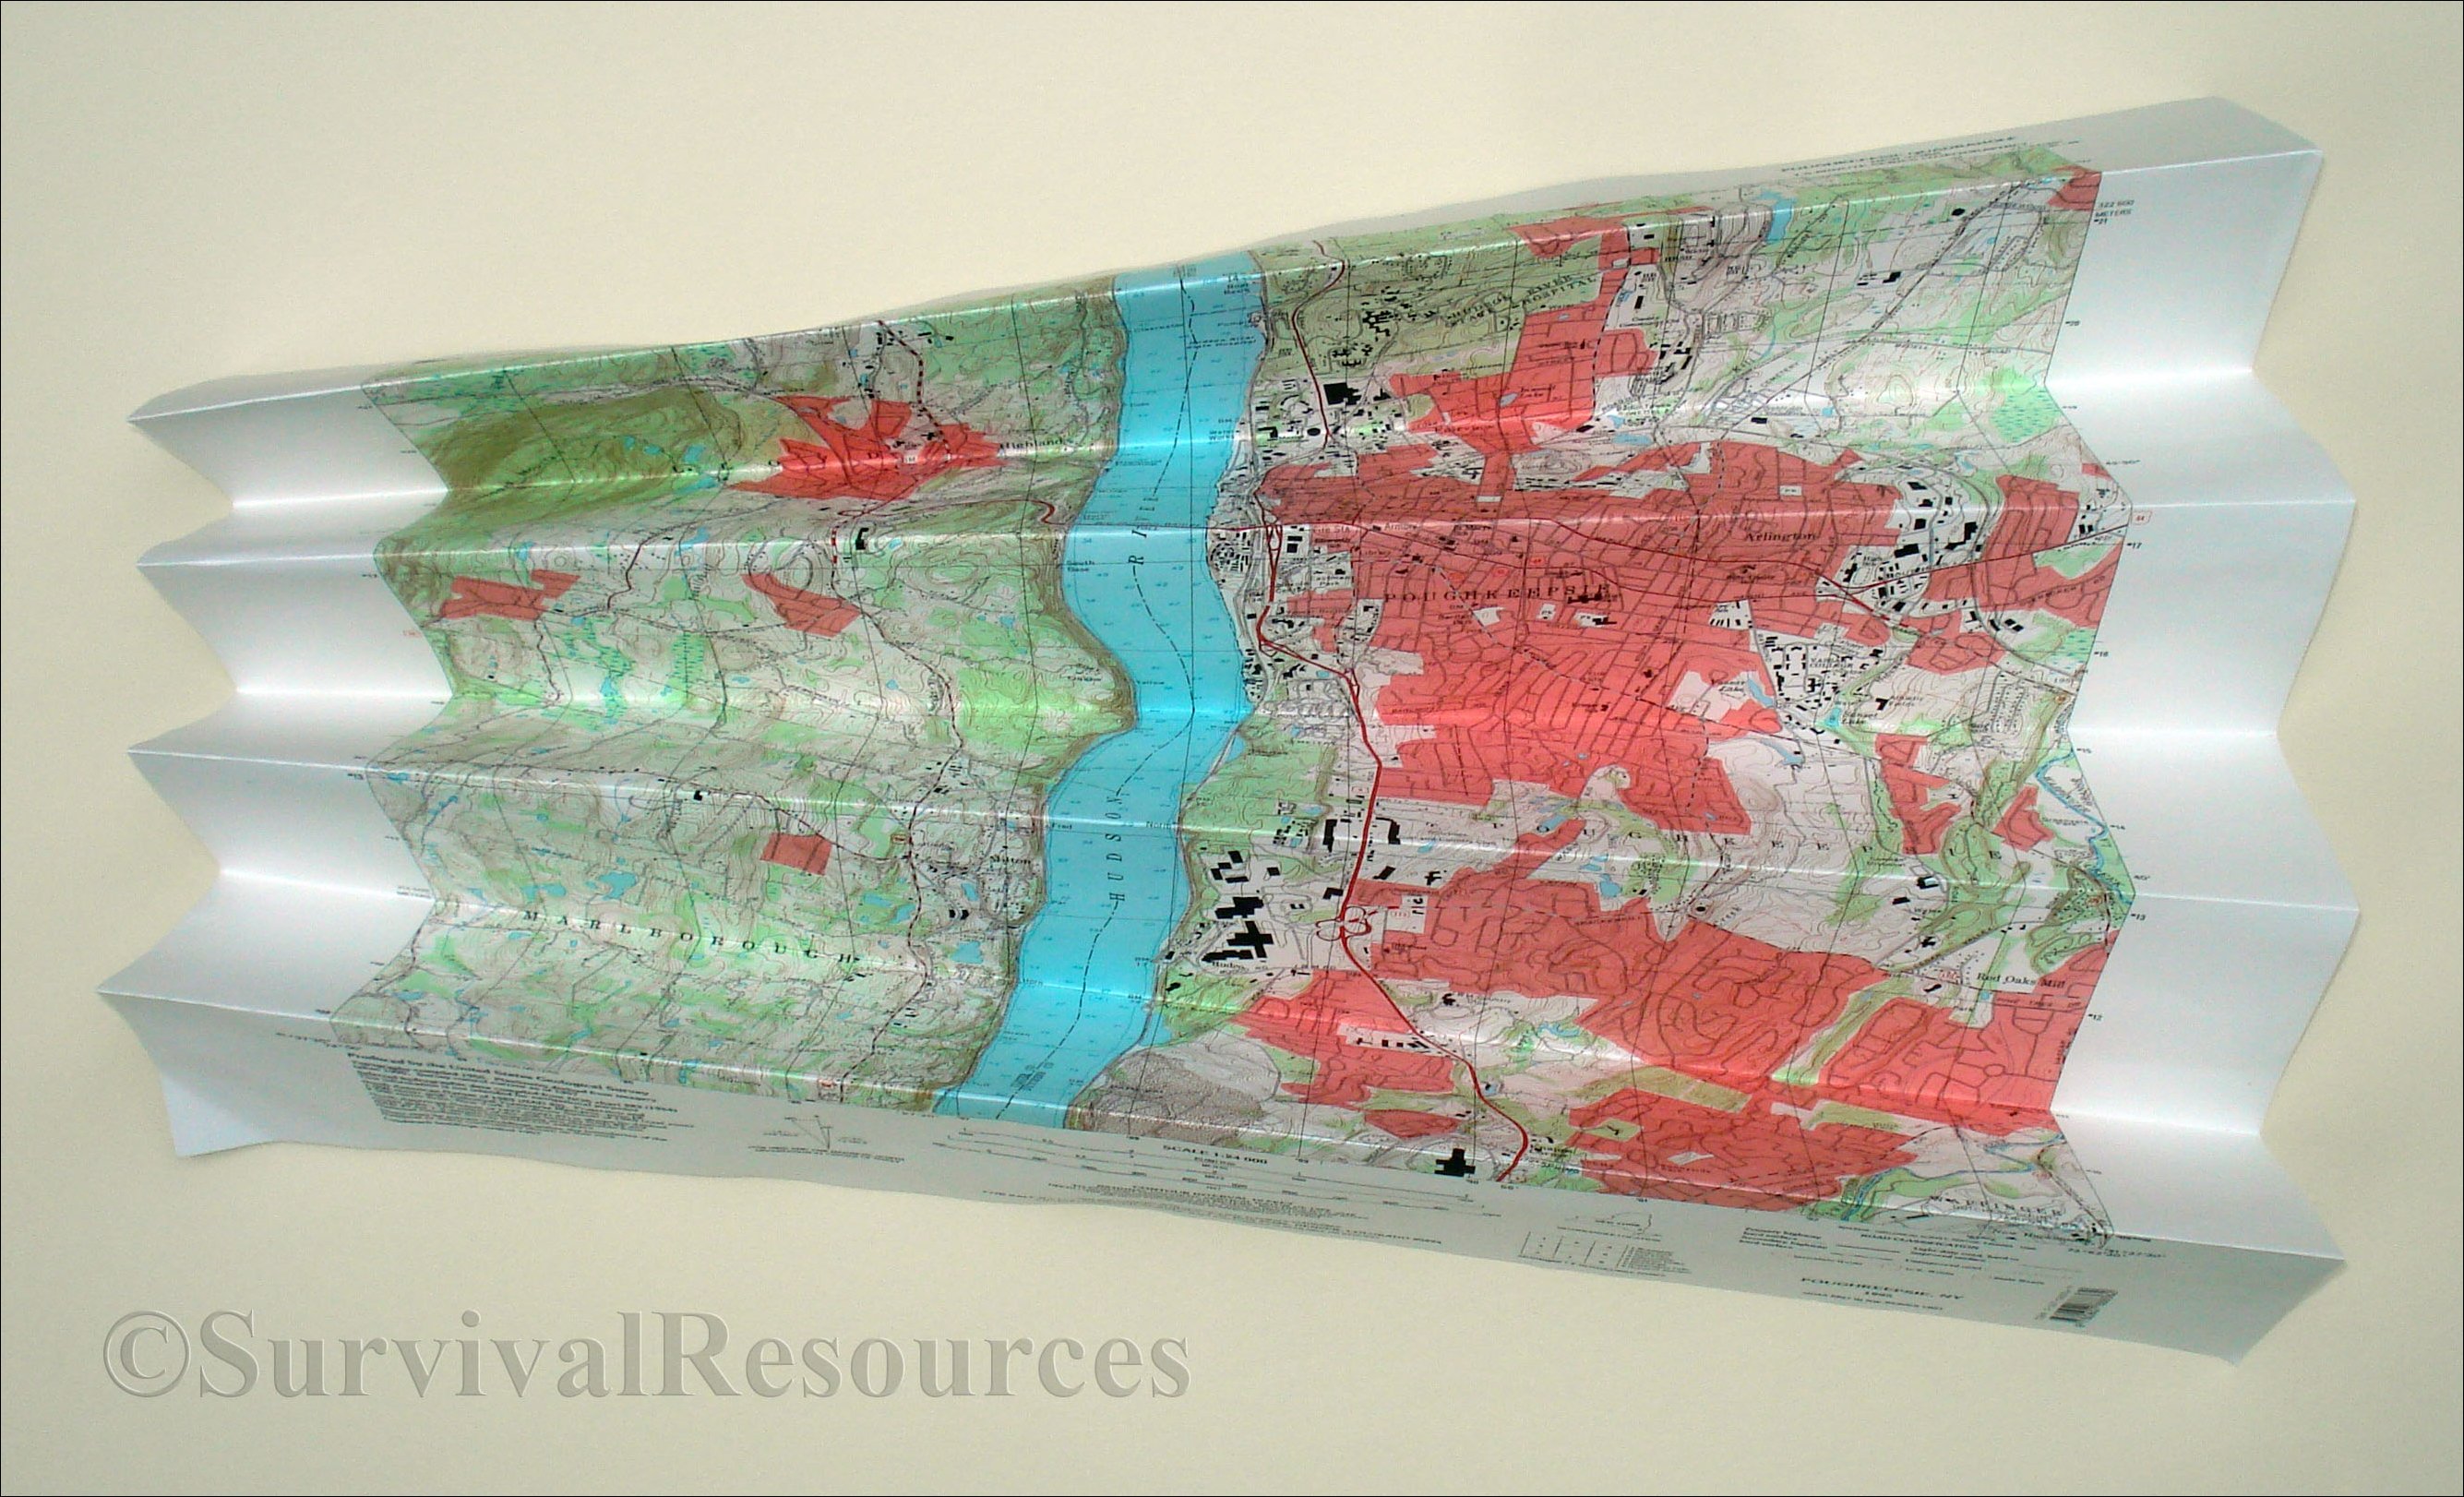
 Now fold the map sideways in thirds, so that the name of the map appears on top.
 You will now be able to open the map like an accordion and chose the section you want to use.
Fold the rest of the map back around that portion and you have just the section you need.
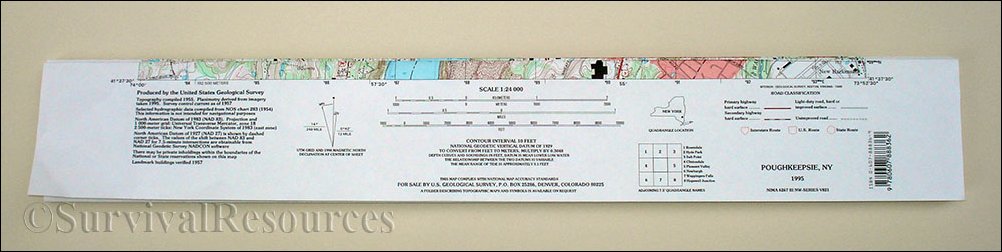
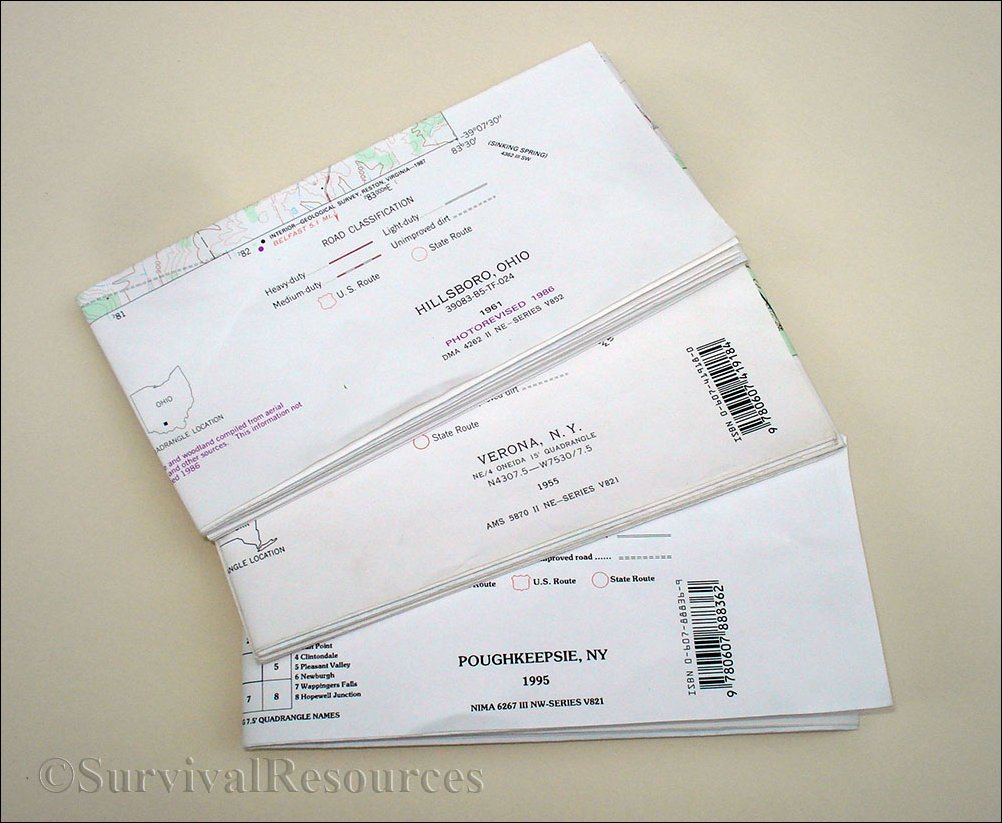 A Few Fully Folded Maps
Well there you have it. Folding your maps properly allow you to easily carry them as well as work with only the portion you need.
We hope you enjoyed this article and will help support our efforts by checking out our products. As always, Be Prepared To Survive!
Copyright © 2017 by John D. McCann