
- New Products
- Exclusive Gear
- Bushcraft Gear
- Containers
- Cooking
- Fire
- First Aid
- Food Gathering
- Knives & Tools
- Knife Collectors Corner
- Light
- Logo Gear
- Misc. Items
- Navigation
- Packs, Pouches & Bags
- Personal Care
- Repair Gear
- Shelter & Protection
- Signaling
- Urban Survival
- Water
- Writing Gear
- John's Books
- Bargain Bin

Making A Can Whistle
This is a whistle that can be made from any old can found in the field. This technique was originally in Boys Life, a Boy Scout magazine, back in the 1950's. My father, who was an Eagle Scout as well as my Scoutmaster, used to have our troop make these. Of course, back then cans were tin and thicker than they are now, but it still works. It will not equal a real signal whistle, made for the purpose of signaling, in loudness but should be more than adequate for signaling purposes. Caution should be used as the edges of this whistle can be sharp and you could cut your lips if you are careless.
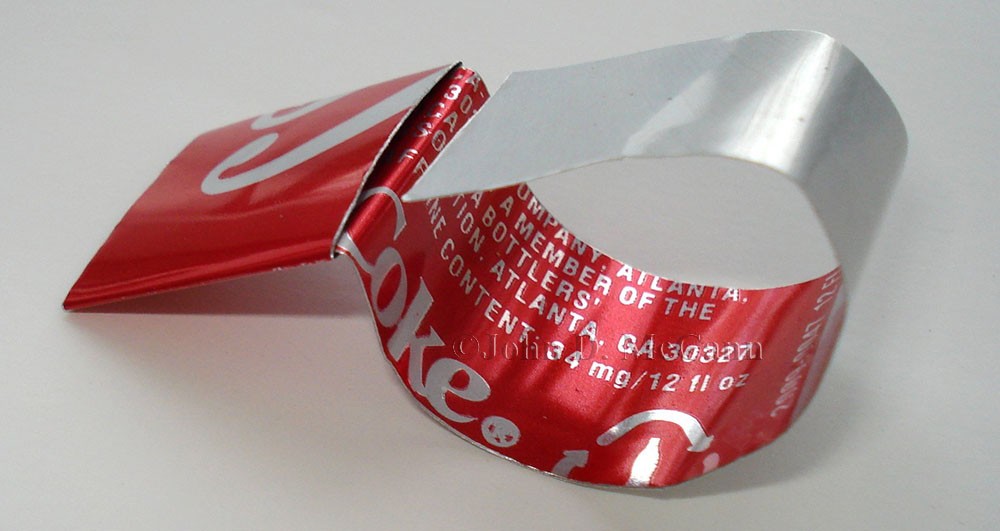
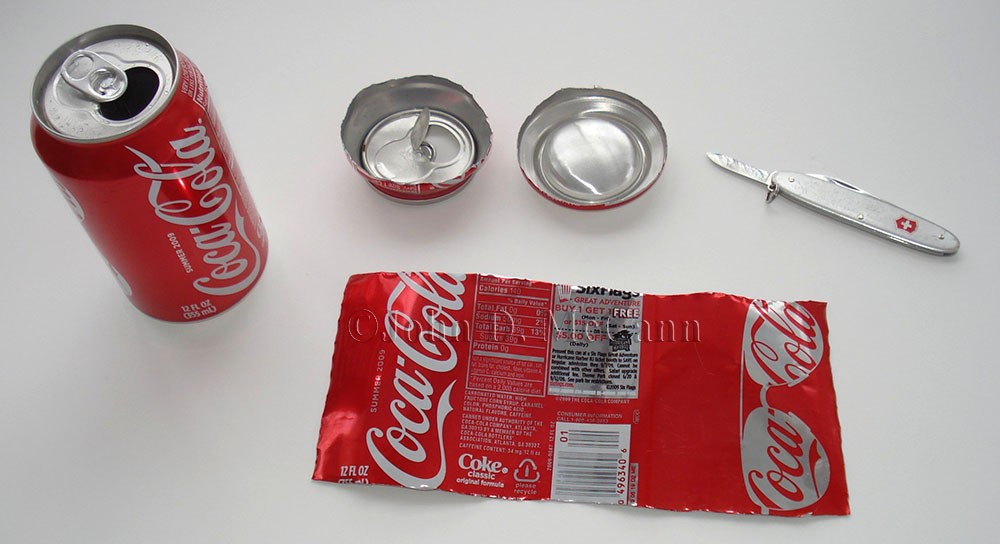 You start by cutting the top and bottom off the can and then cut the center piece from top
to bottom. You can discard the top and bottom at this point. Carefully unroll the center
section so that you have a flat piece to work with.
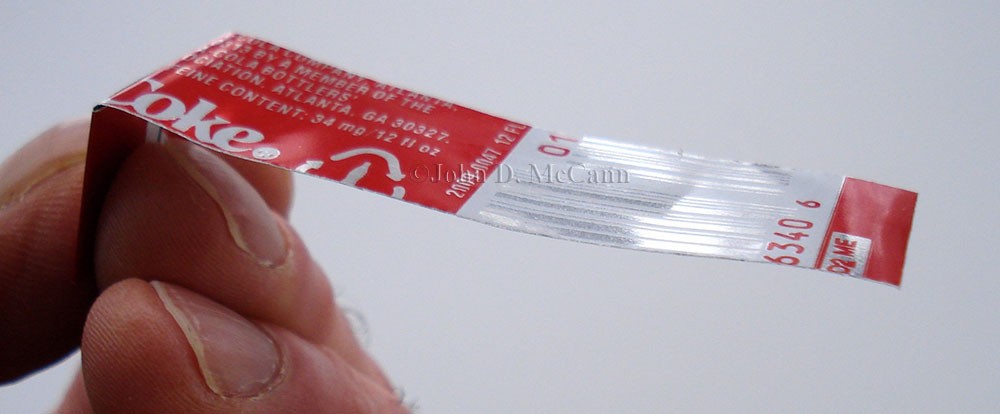
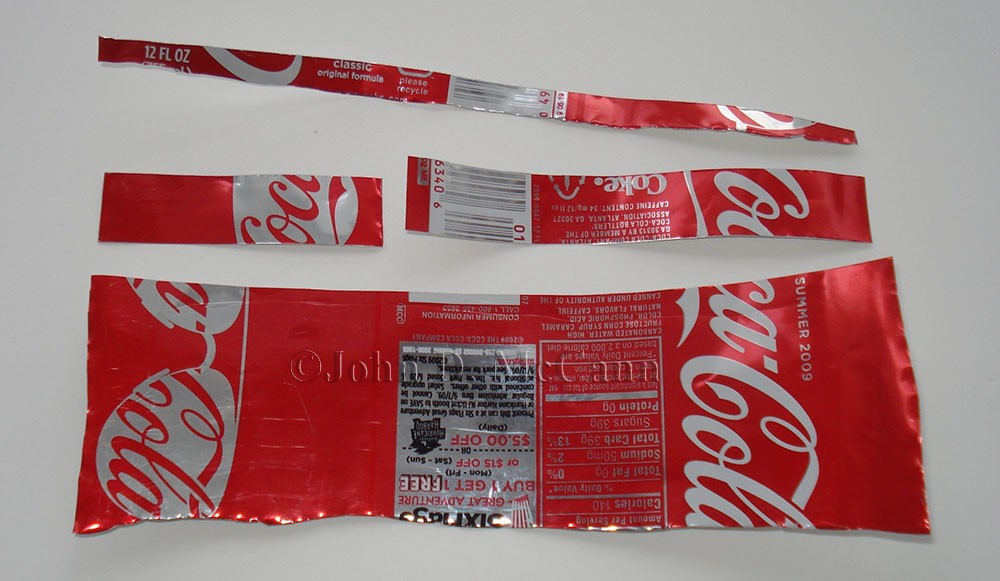 Next, cut a strip that is approximately 5" long and 3/4" wide. This can be done by scoring a line and bending
the material back and forth, which will give it a clean edge.
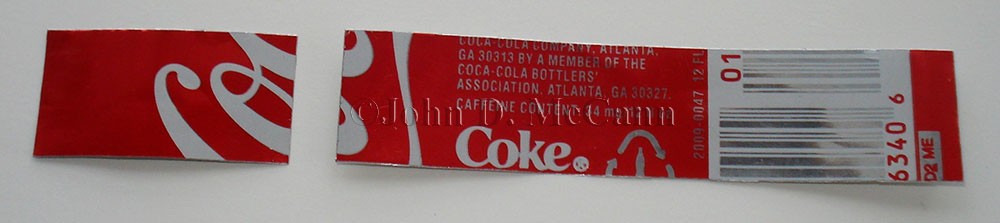 Now take the piece you just cut, that is approximately 5" long, and cut a piece 1.5" off the end using the same
technique as described above. Now you should have a piece approximately 3.5" long by 3/4" wide, and one
that is 1.5" long by 3/4" wide.
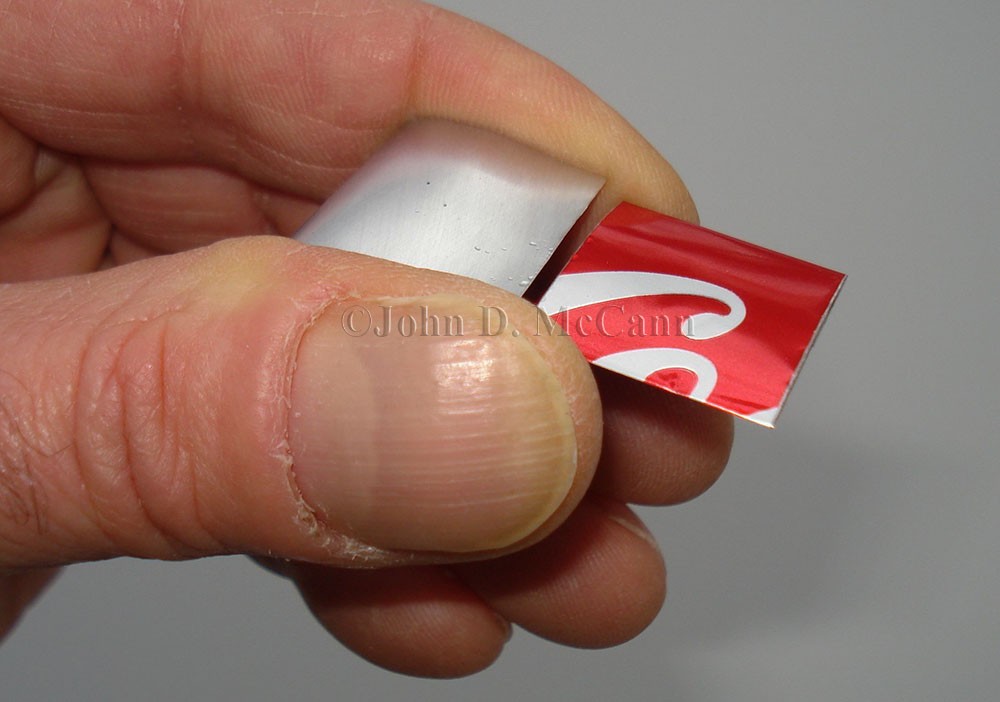
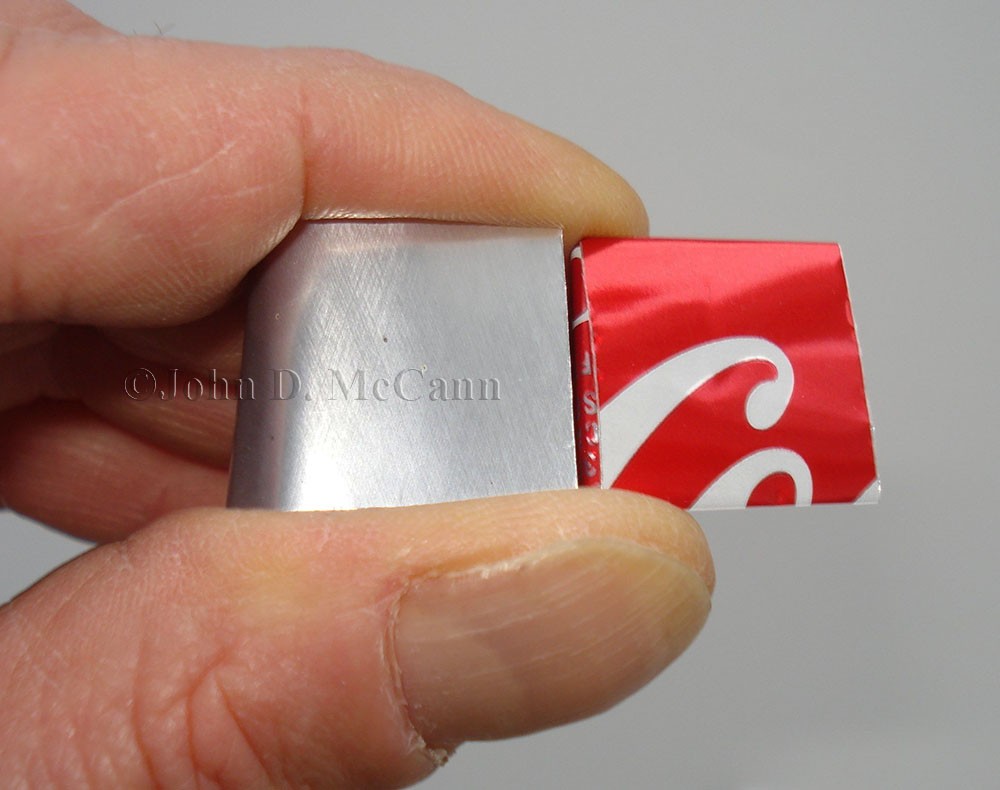
 Next you want to lay the short piece over one end of the long piece, cross wise, and centered. Then bend the
ends, that hang over on each side, down and around the long piece.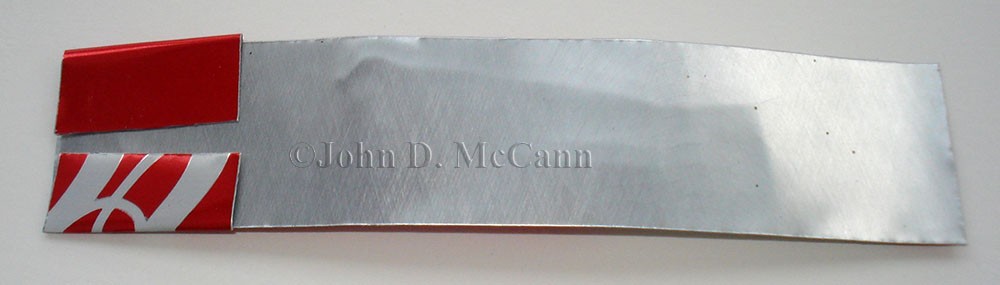 Press hard so that it remains attached to the end of the long piece.
 Right behind the piece you added, bend the remainder of the long piece down at a 90° angle.
 Now start bending the piece back up and around, making a round whistle shape. This piece should bend up
and around and, leaving the last part straight, should just about meet up with the crossed piece that you
attached. You should start seeing a whistle shape, minus the sides. Take an item like the small blade of a knife and slide it in between the crossed piece, and the long piece you wrapped the short piece around. Don't make too big of a gap, just something you can blow air through.
 Now comes the hard part. You have to close the sides of the whistle with the thumb on one side and your
index and middle finger on the other side. At the same time you want the top straight section to be within
an approximate distance of 1/16" - 1/8" from the crossed section that you opened to blow through.
You will probably need to adjust the top so that the air coming through the front blows across the
flat section of the top. It takes some work, but you should get it to blow.
 This another view of the sides being closed using your fingers and at the same time keeping the top straight
section aligned with the part you blow through.
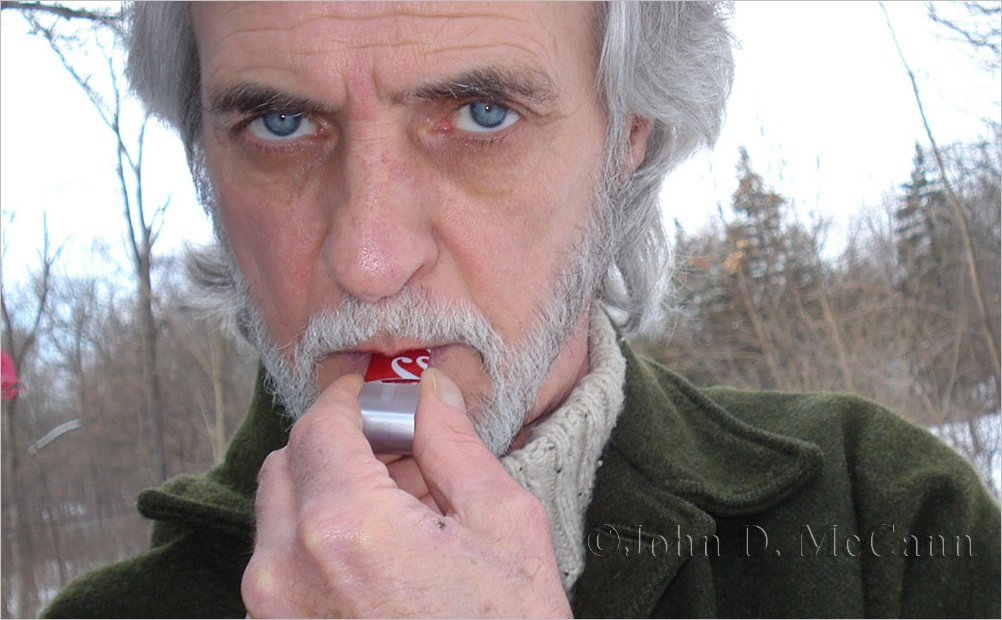 This shows me blowing the whistle with the sides of the whistle made with my thumb and forefinger.
After some practice, you will find that you can easily get the whistle adjusted and you can use it to signal with!
If your fingers are too small to completely close in the sides, I have had students hold the whistle between their palms. It is more difficult to adjust the top this way, but they have made it work.
We hope you enjoyed this article and will help support our efforts by checking out our products. As always, Be Prepared To Survive!
Copyright © 2016 by John D. McCann